It started off very good! I got it set up on the patio outside the back door and was working on the shelf while another was working on clearing out our shed and another was working on mowing the yard back there. We like it to be half jungle looking but every once in awhile will mow just to keep trees from starting.
So, one was doing the shed, clearing out the stuff that we threw in there that we did not want to throw out yet but didn't have room for in the house. We had decided to use it as our diy area for salves etc. that we wanted to be able to store undisturbed.
While I was learning how the Ryobi Circular Saw worked they began doing their own things back there too. I managed to get the 2 12' boards cut in half to make the 6' supports for my shelves and was thrilled. It was as easy as I had thought it would be once I got over my fear of the saw.
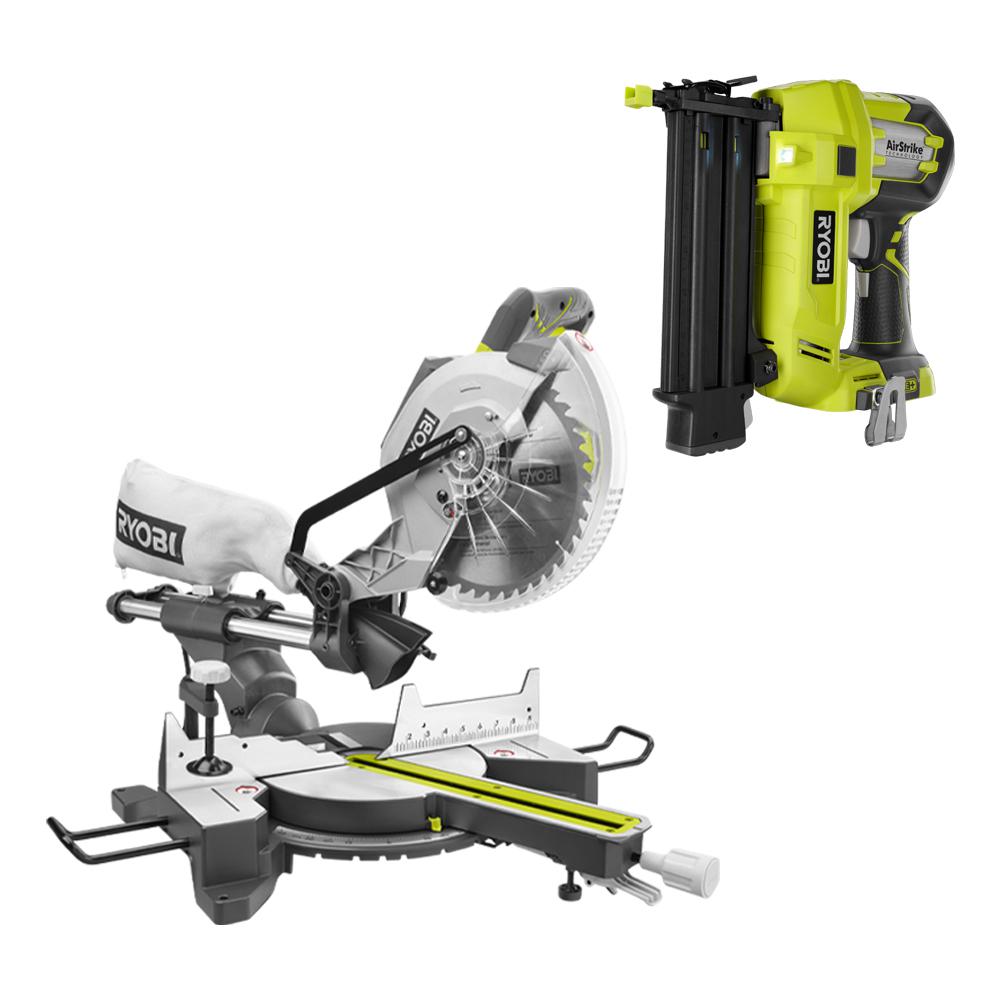
We had bought this combo tool kit and I was excited to begin using it! Be warned the circular saw is 5 1/2" blade!

I brought out one of the boards I needed to make 3 cuts on but this one was thicker then my first boards and it gave me a bit of trouble. At first I thought it was the mat I had them on. I used my foam for making armor stuff, that puzzle stuff. I thought maybe it does not like the material so decided to try to use a board underneath.
Except it did not seem to work with the thicker ones at all. It would begin and then stop once it made about an inch long cut into the wood. I was in the process of figuring it out when the one working on clearing out the shed yelped. She was pulling out a big cardboard box we had stored in there and it contained either a bee nest or a wasp nest! She got stung on her leg. I decided I really did not want to be using a saw when there was a nest of angry bees so close(!!!) so called it a day and brought my stuff back inside...
As I was bringing my stuff in she decided to see if she could get the box out of the shed and off to the side except the bees decided No! We all raced inside and have the people coming to remove it this Wednesday...
But I decided I needed bigger tools :p
So I will be saving up for my new one: a miter saw! Those seemed as scary as a circular saw to me but I got over the fear of the saws and now want a miter!
So now I decided to try sawing them by hand so I can do it inside. It is 4 boards with 3 cuts each so hopefully will not take me too long. We do not plan to glue these together because we figure we will get better soon and be able to redo it strong and pretty. My plan is just to screw them onto a board support, 4 of those underneath with the end 2 attaching to my support poles. So, it will be strong now and later on we can make it both functional and gorgeous!
I don't really want to film or get pics of the process as I am so new at it that I doubt anyone could learn from it so far. I hope to get a little shop area set up though! Would love a nice craft room, curtained off area for the wood working, nuno felting table and storage of fibers, silk worm rearing, mushroom logs, just want to do it all!
Maybe if i can get enough views I can get Ryobi to send me a discount code to use at Home Depot :P worth a shot! So, be a pal and share this with your friends and family...
#HandMadeWithLove
#Ryobi
#HomeDepot
#Indigenous
#Unangan
#AttuAlaska
#


Wow, imagine if you combined your felt projects with the construction projects! :) Way to go Sea. I can't wait to see how that turns out.
ReplyDeleteSmiles, I wonder how to combine the 2 together... Besides wall hangings and light covers... I had fun building the shelf and learned a lot!
DeleteSmiles, thanks! It was hard work and I learned a lot but it was also fun and fulfilling!
ReplyDelete